
Part 1: Record The Throw
Use a steady side-view clip at 1080p and 60 fps so the app can detect both the block and the release.
This analysis is event-based. If the block-foot strike or the release frame is missed, the downstream metrics and coaching cues degrade quickly.
- 1. Side-view only: place the camera 90 degrees to the throwing direction. Do not shoot from behind or from the front.
- 2. Minimum settings: record at 1080p and 60 fps. Higher frame rate is fine if the clip stays bright and clear: the app analyzes every frame of the video, so more frames give finer block and release timing (and take longer to analyze). Slow motion saved as a normal-speed video also works: pick the frame rate you recorded at in the app so the delivery times come out right.
- 3. Capture the whole delivery: start before the final crossover so the app sees the approach into the block, and keep recording through release and follow-through.
- 4. Keep the full body visible: the thrower, block leg, throwing arm, and javelin should stay in frame the entire time.
- 5. Use a tripod and clean lighting: no handheld shake, no zooming during the throw, and enough contrast for the body and javelin to stand out.
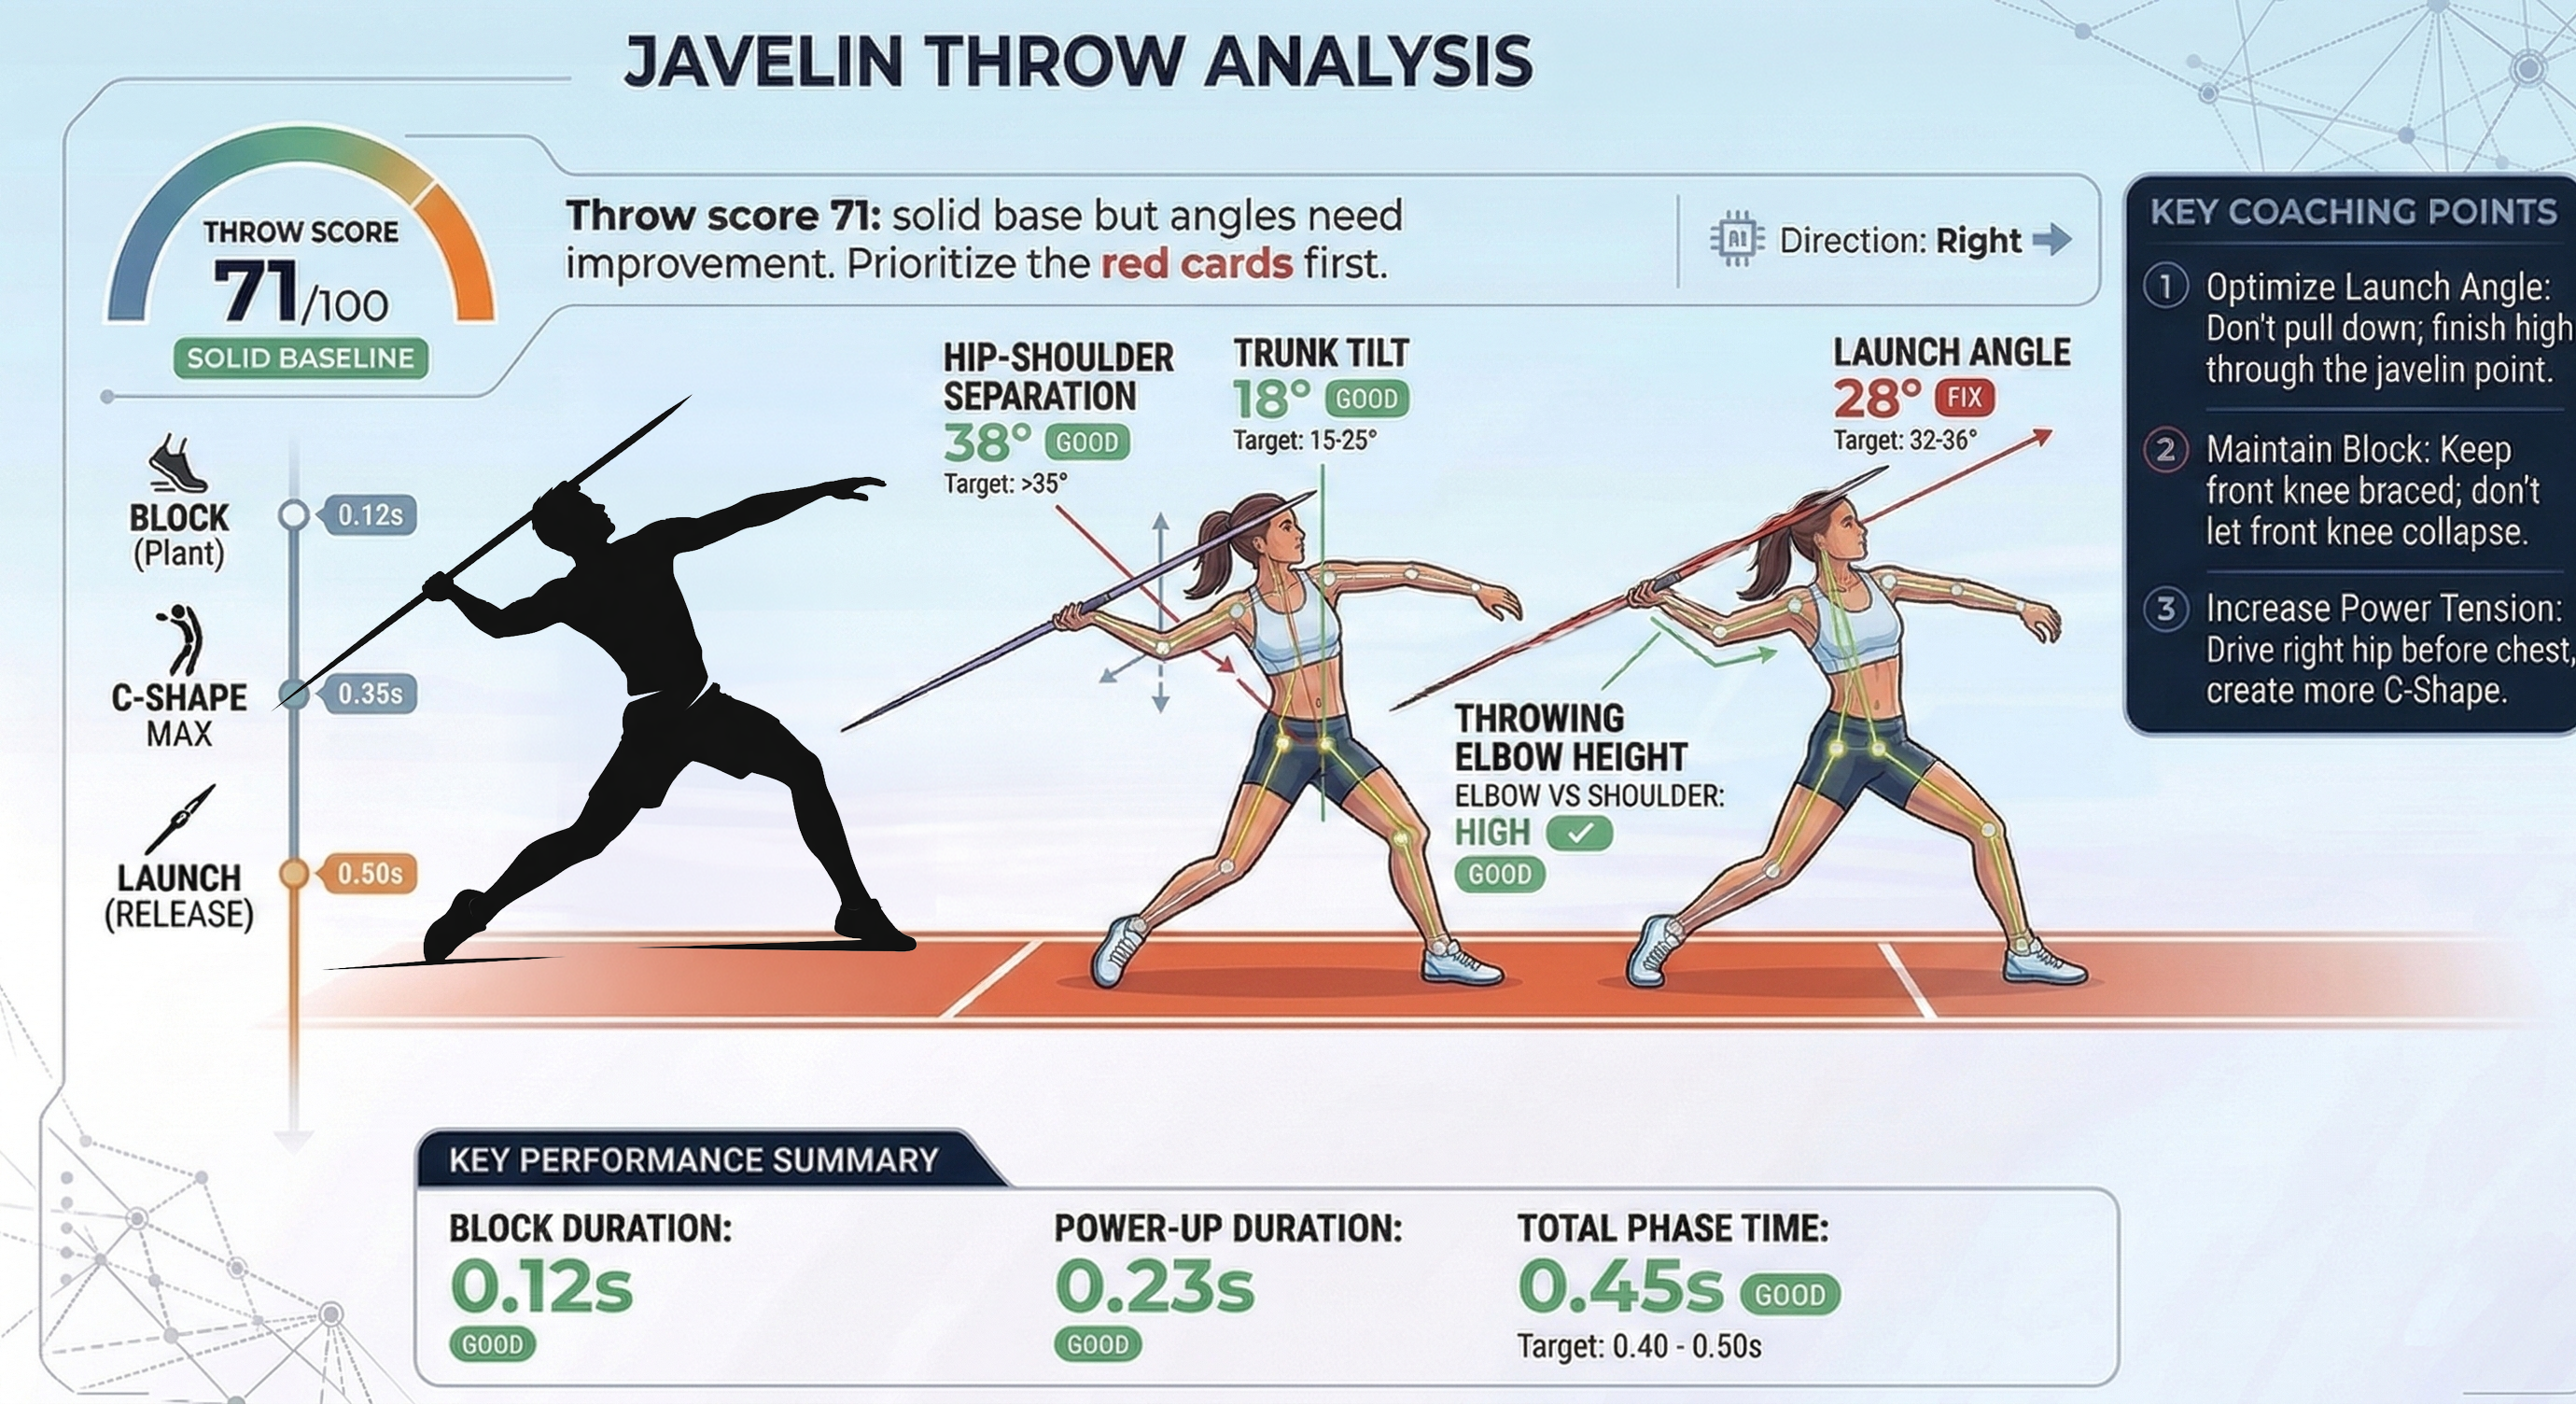
After upload, choose the correct throwing arm in the app. The opposite leg is treated as the block leg, so that selection affects how the report is interpreted.