Capture Setup
Record a clean jump sequence so the app can track the full takeoff and landing.
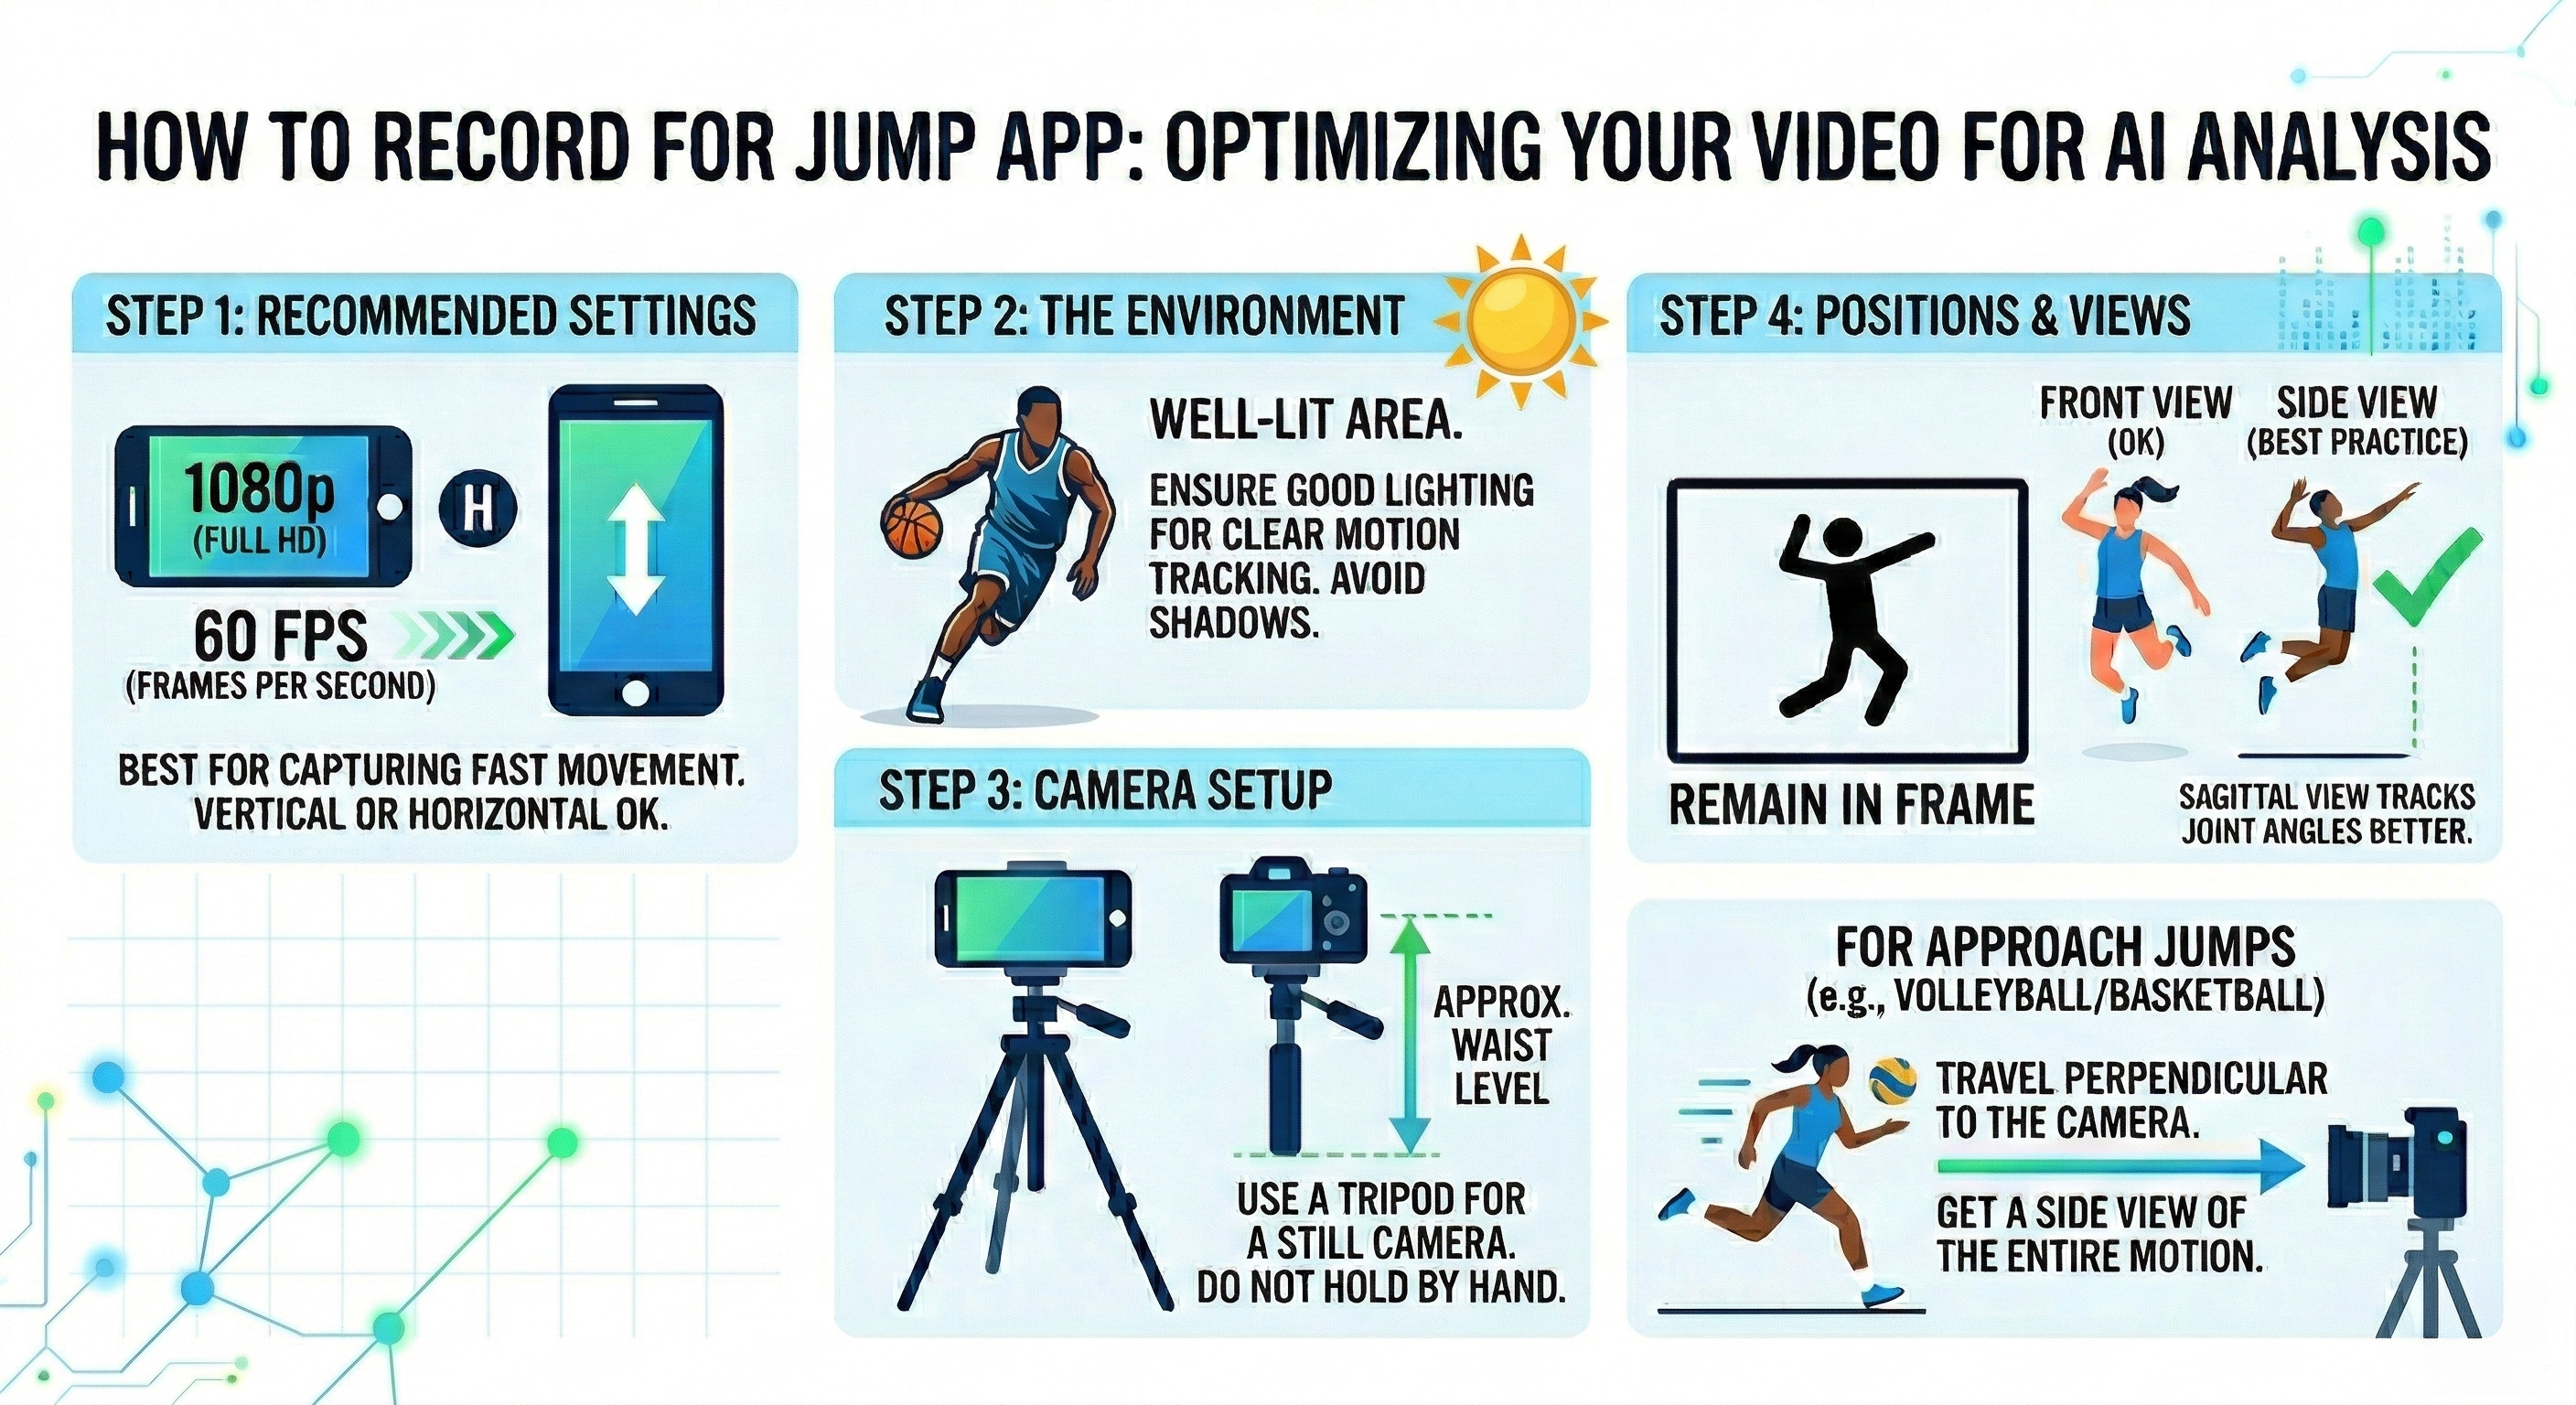
- Step 1: Recommended Settings. Record at 1080p and 60 fps or more. The app analyzes every frame of the video, so a higher frame rate times takeoff and landing more finely. Slow motion saved as a normal-speed video also works: pick the frame rate you recorded at in the app so the times come out right. Vertical or horizontal can work, but the full body must stay visible throughout the rep.
- Step 2: The Environment. Use a well-lit area with minimal shadows so the pose model can track the body and the motion remains clear.
- Step 3: Camera Setup. Place the camera on a tripod around waist level. Do not hand-hold the phone, because camera shake degrades joint tracking.
- Step 4: Positions & Views. A front view is acceptable, but a side view is best because it captures sagittal joint angles more accurately. For approach jumps in volleyball or basketball, move perpendicular to the camera and keep the full motion in frame.
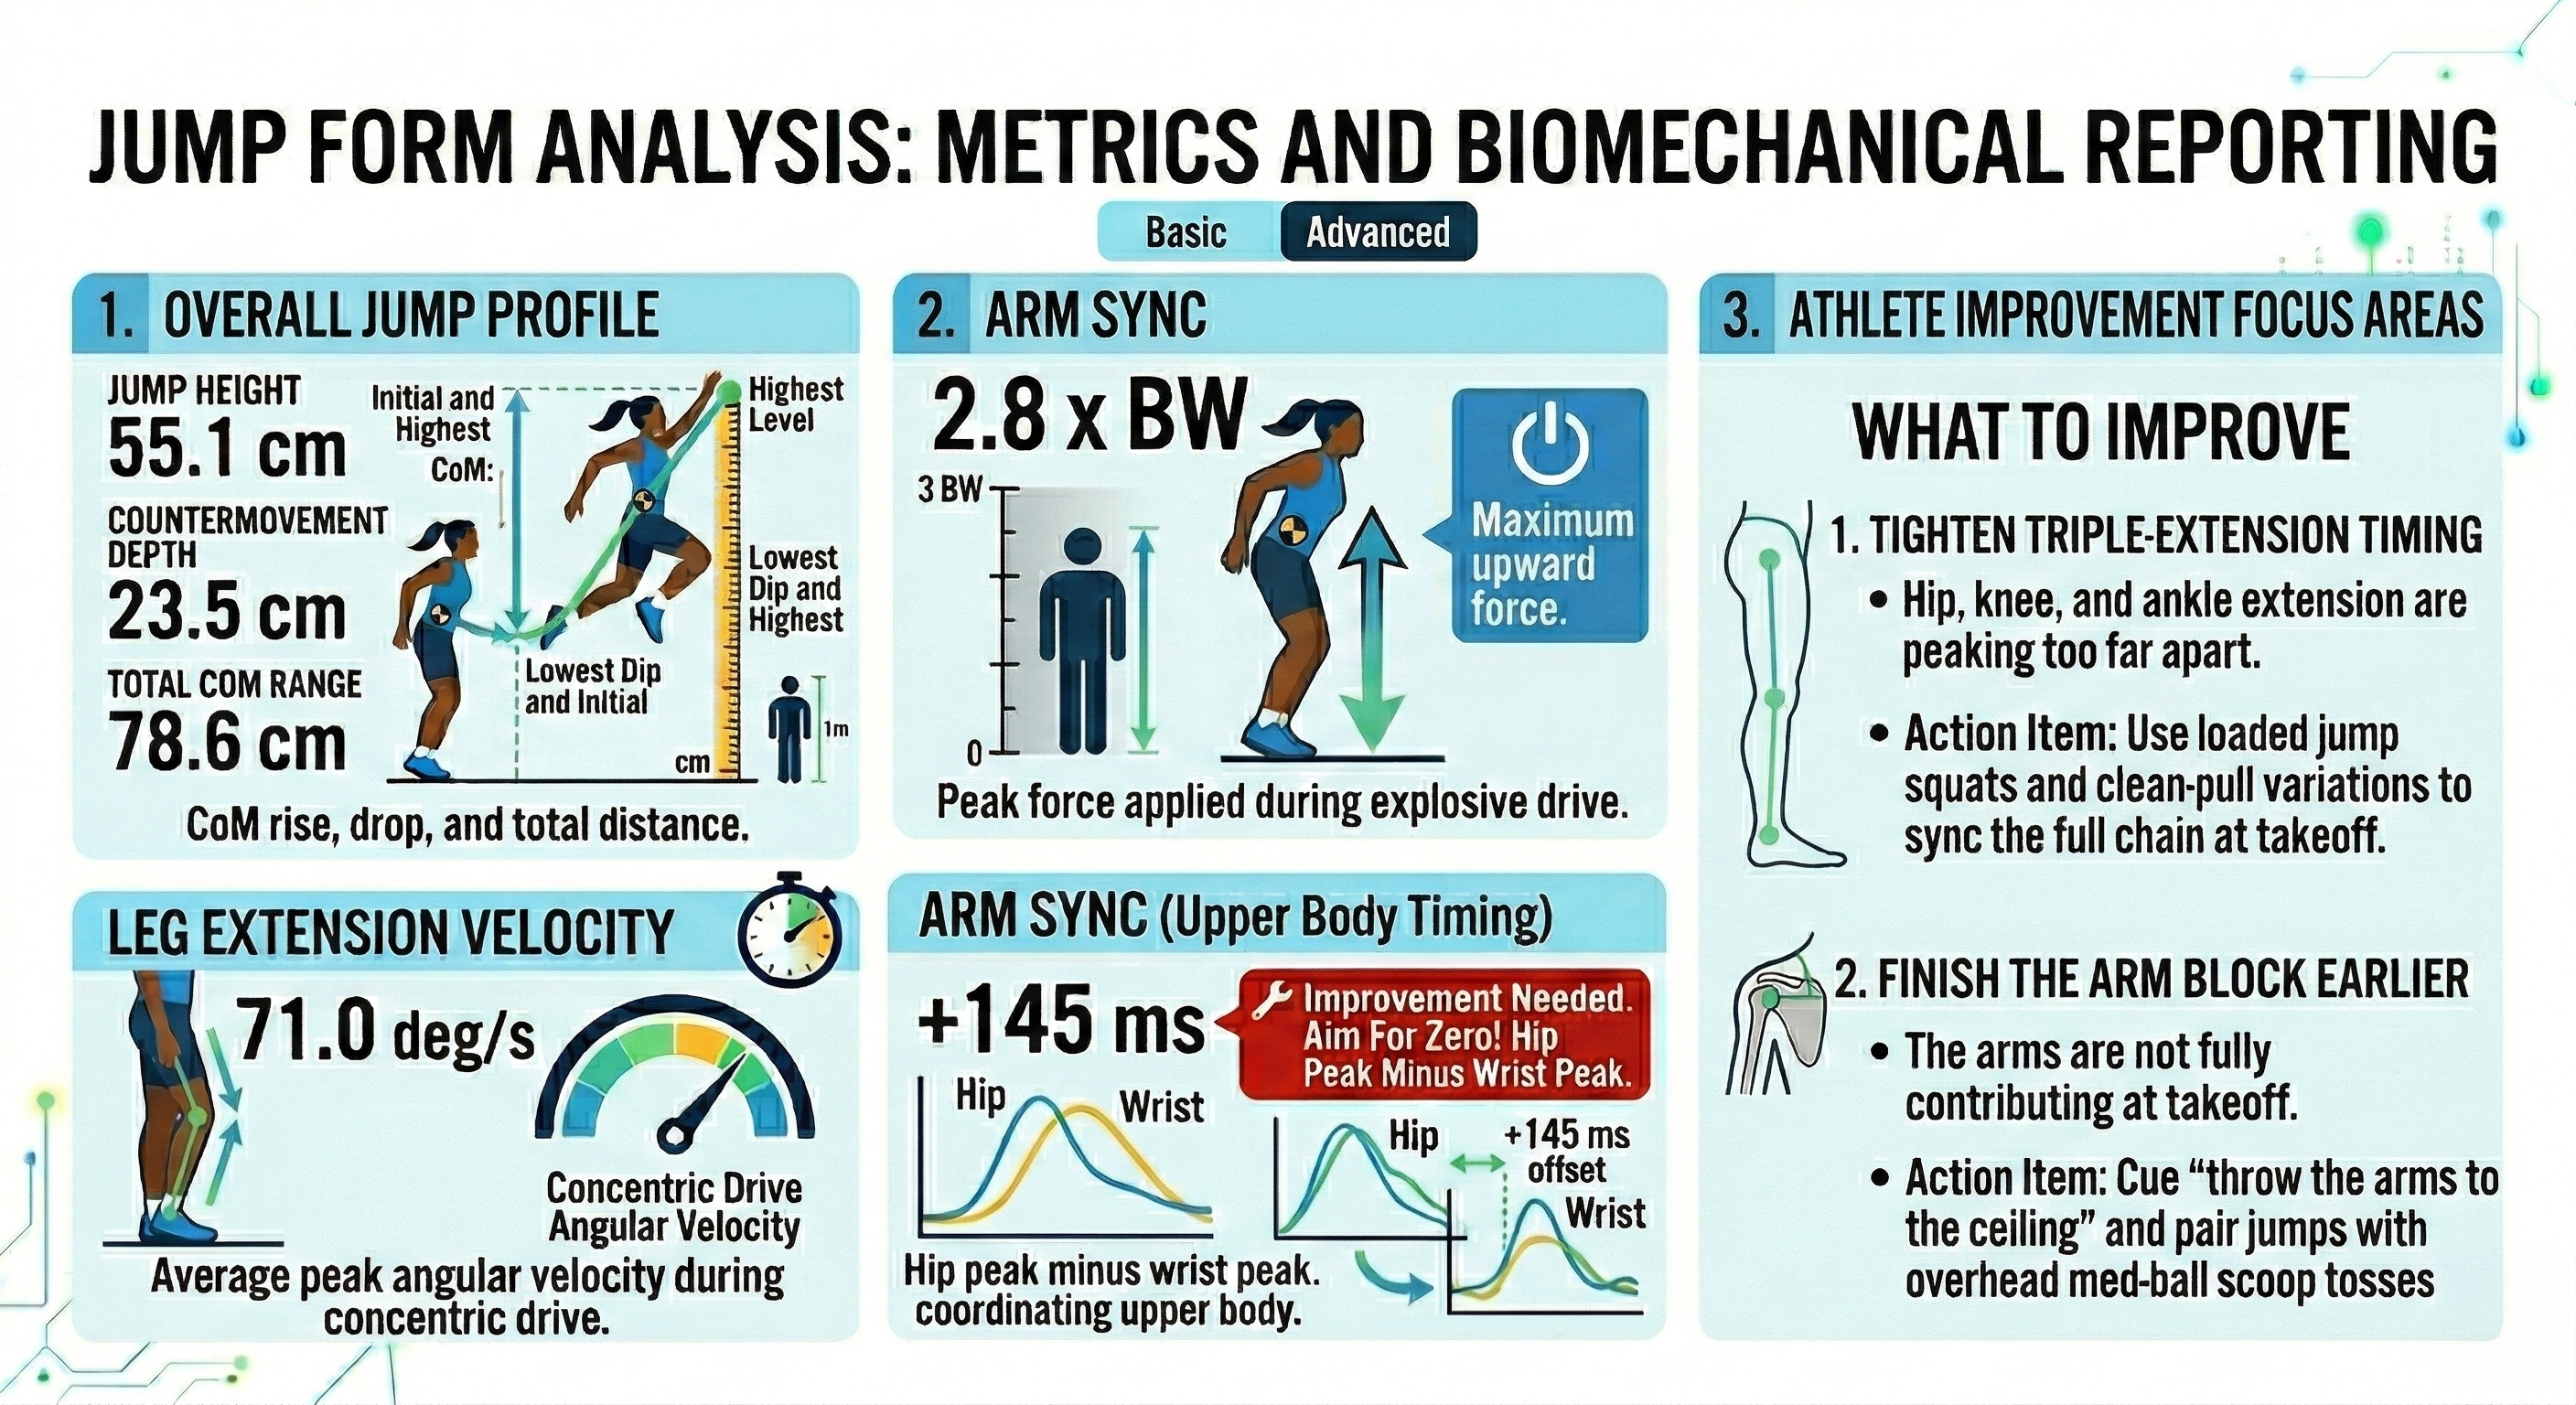
Before running the analysis, enter the athlete height in meters. That value calibrates pixel-to-meter scaling so the app can estimate jump height, center-of-mass travel, and distance-based metrics correctly.